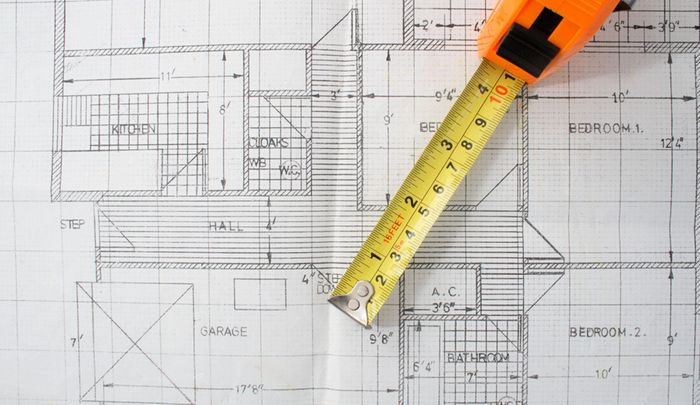
Step 1: Design A Plan For Wiring
The first and most important consideration is the layout of the residence. You will have to create a diagram to map out the wiring prior to starting the project. Here are some things to consider when planning your wiring plan:
- Location of audio components
- How many rooms will be connected
- Will there be volume controls or keypads in each room
- Does your amp have enough power to run all your speakers?
Homes with open floor joists over the crawlspace, or basement make the wiring process easier. You should also make sure that you have an ample amount of wire. You will also need to consider where you will place your keypads, since keypads should be located in the same room as the speakers and close enough to be easily wired.
Step 2: Determine The Wiring Configuration
Next, consider the type of configuration you want to use for the wiring process. You can use one of two common methods; the daisy-chain or the home-run method:
- Daisy-Chain (wiring in parallel):
Using this wiring method, installers run one set of wires from the amp only to the first speaker. Subsequent speakers are chained to the previous speaker so less speaker wire is used. For installations using multiple rooms or volume controls, this may not be the best choice. - Home Run (Direct wire):
This preferred method requires a separate run of speaker from the amp to each speaker. Although more speaker wire is ultimately used, the end-result is much more flexible. Installers can place volume controls in each room if desired enabling users to adjust the volume level in each room independently. This configuration can also allow each room to play a different music source for a truly customized listening experience. Having a different source in each room, however, would require a multi-zone receiver.
Step 3: Select Appropriate Wiring
The speaker wire for either of these methods has to be rated for in-wall use and durable. Installers will want to use CL rated speaker wire for home installation. This wire has a PVC outer jacket and can be safely pulled through attics, crawlspaces, walls, or anywhere else throughout the home. This speaker wire is commonly available in a 2 or 4 conductor variety for installation convenience.
If you've decided to use keypads throughout the home to control your system, you will also need to pull networking cable from your amp to each keypad location. Either CAT-5e or CAT6 wire is typically used. This wire allows users to not only raise or lower the volume in each room, but also select what source to listen to, change radio stations, and even control a remotely docked iPod with some advanced keypads.
Step 4: Gather The Proper Tools
The next factor to consider is which tools you'll need, having the proper tools is important to complete the wiring process. For a typical wiring project you will need:
- Drill
- Auger Bit
- Fish Tape
- Side-cutting Pliers
- Punch-down Tool
- Wire Stripper
Please be aware that every home and project is unique. Tools other than the ones listed above may be necessary depending on your situation.
Step 5: Connecting The Speakers To Your Audio Gear
For installations using The home run wiring method, users will next decide how to connect the speaker wire to their audio gear.
- Option # 1: Using an AV receiver:
Many surround sound receivers have the ability to connect an additional 1 or 2 pair of speakers without extra equipment. To check if your receiver has this option, look for equipment with a "Zone 2" option. - Option # 2: Using a speaker selector box:
If you would like to connect up to 6 pair of speakers, you may choose to use a speaker selector box. These devices sends an amplified sound to multiple rooms and allow users to easily turn on one or more pairs of speakers by pressing a button on the selector box. Some selector boxes have the ability to adjust the volume to each room if the installer did not already place a volume control in the room. - Option # 3: Using a multi-zone receiver
The final option is to install a multi-zone amplifier which would allow the flexibility to run a seperate source in each room. As an example, internet radio could be played in the kitchen while CD music is played on the deck. Multi-zone receivers will often require keypads in each zone for control of the audio.
Step 6: Identify The Zones
If you choose to have a multi-zone system, you'll need to determine how many speakers are in each zone (room). This is easily determined by the size of a listening area. Typically larger rooms will require paired speakers, while smaller rooms will only require one stereo speaker.
The last thing to determine is how you want to control the equipment located within each zone. You can have multiple keypads or only one keypad in each room depending on the control you need. For example, changing radio stations would require a numeric keypad as well as the standard source keypad.
The other way to control equipment throughout various zones is the infrared pickup option, which utilizes the hand-held remote control.
Finally
Now that you have your plan mapped out you can take a look at all the whole home audio products that OneCall offers to make your plan a reality. If a wired whole-home audio system seems too difficult, be sure to check out the article "Whole Home Audio Systems - Wired or Wireless?" to research what option is best for you.